You haven't signed in yet, you can have a better experience after signing in
*Please complete the payment within {{receiveCouponInfo.expire_at}}Previous use*
You haven't signed in yet, you can have a better experience after signing in
 RollBack Rx Professional 12 Computer System Recovery and Restore Tool Software
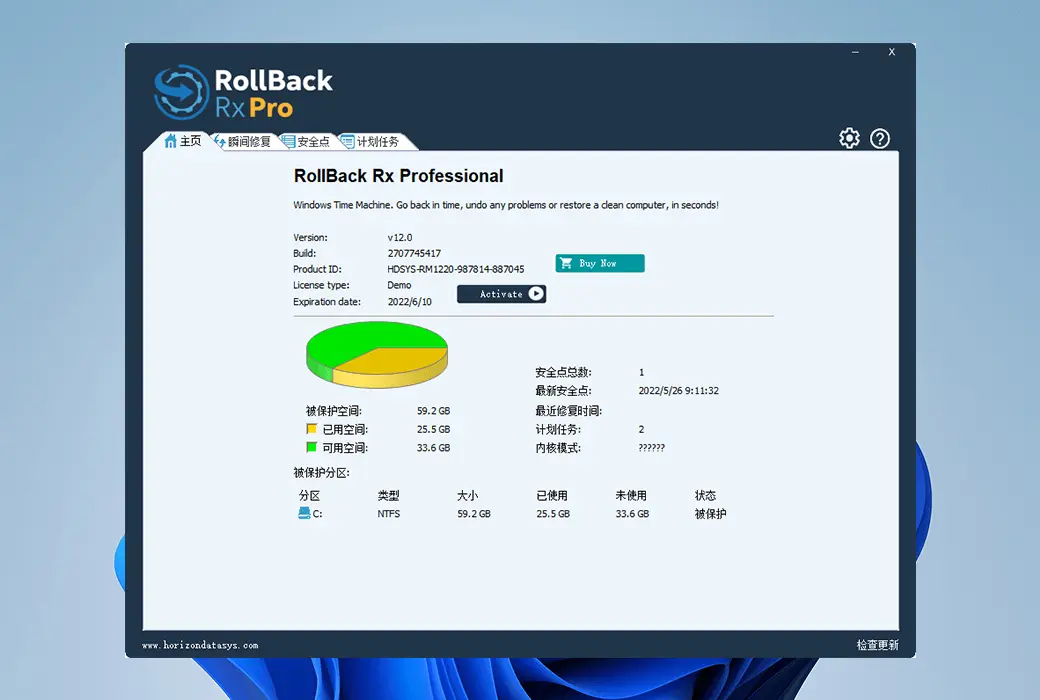
Activity Rules
1、Activity time:{{ info.groupon.start_at }} ~ {{ info.groupon.end_at }}。
1、Activity time:cease when sold out。
2、Validity period of the Group Buying:{{ info.groupon.expire_days * 24 }} hours。
3、Number of Group Buying:{{ info.groupon.need_count }}x。
Please Pay Attention
1、Teamwork process: Join/initiate a Group Buying and make a successful payment - Within the validity period, the number of team members meets the activity requirements - Group Buying succeeded!
2、If the number of participants cannot be met within the valid period, the group will fail, and the paid amount will be refunded in the original way.
3、The number of people required and the time of the event may vary among different products. Please pay attention to the rules of the event.
RollBack Rx Professional is an instant time machine suitable for your PC.
A comprehensive Windows system restoration solution that enables users and IT administrators to easily restore their PCs to any previous state in seconds.
RollBack Rx Professional provides a new PC management method. Any unforeseeable event, such as user error, virus, or even poor software installation, can be easily and absolutely reversed in a fast and effective manner.
Functional Features
Why choose RollBack Rx Pro?
Windows System Restore only restores Windows system files and some program files. In addition, if Windows crashes to the point where Windows itself cannot start (such as BSOD), you will not be able to access the Windows system restore point. In contrast, RollBack Rx technology works at the sector level of hard drives and restores everything! Until the last byte of the data. It is located below Windows, so even if Windows crashes, there is a sub console (mini operating system) that starts before Windows. This allows you to access the rollback Rx and return to the point in time when the system is running without failure.
Most backup technologies, such as imaging, are static and time-consuming. This task is so arduous that even disciplined IT departments rarely have time for regular backups. If a disaster occurs, the length of backup time directly determines the amount of data loss. In today's computing environment, 98% of PC disasters are micro disasters (malware, poor Windows updates, software installations, etc.). How do you protect yourself from the vast majority of PC disasters?
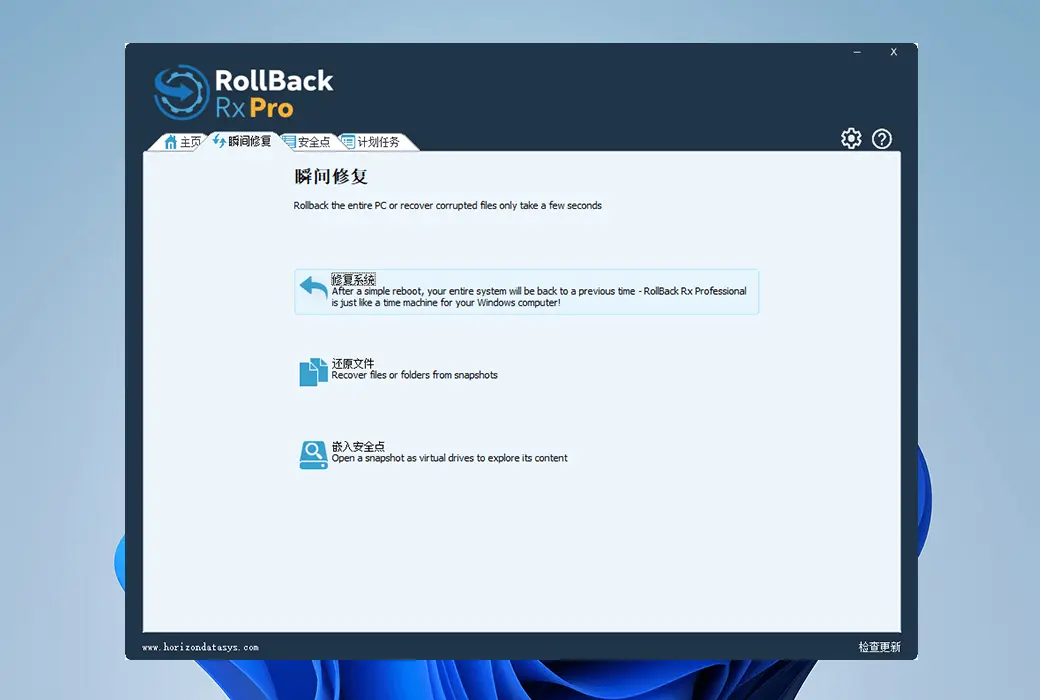
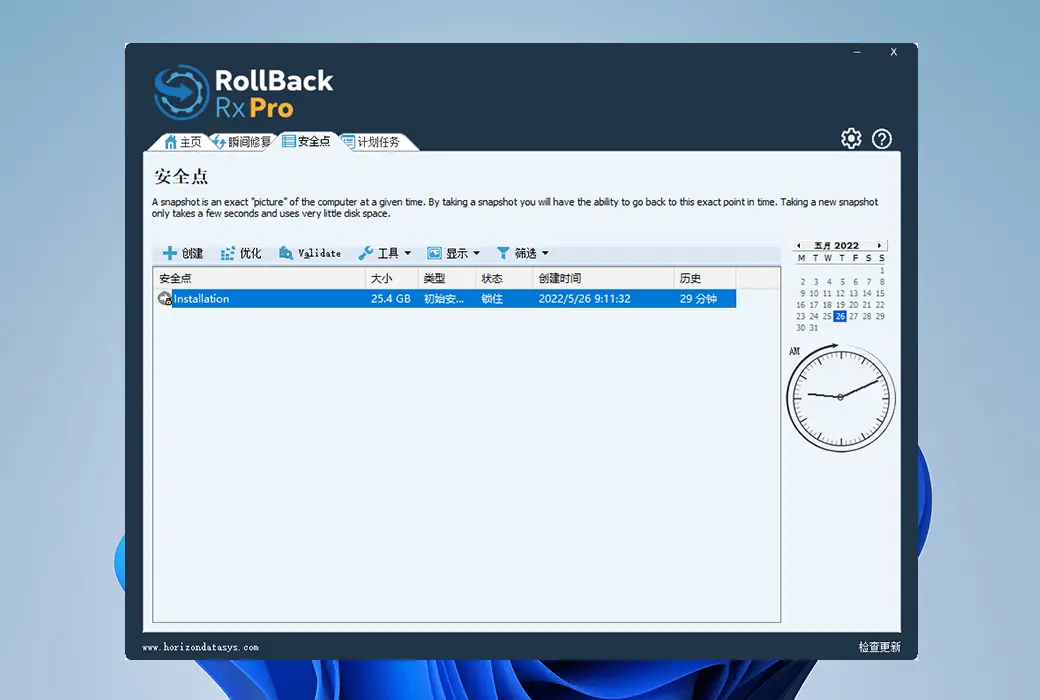
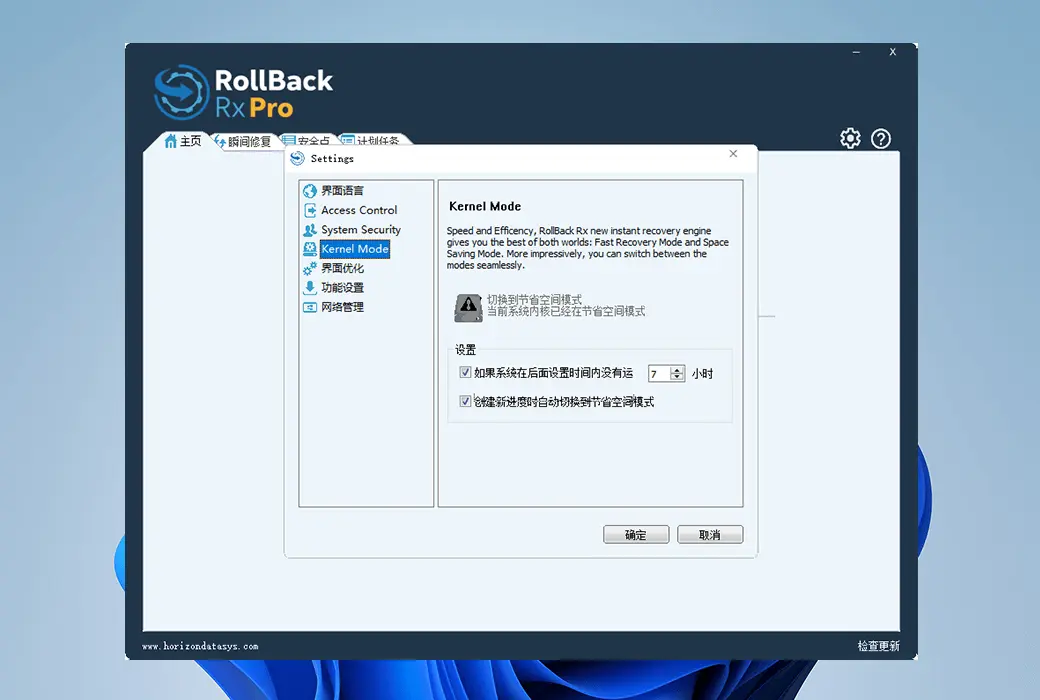
RollBack Rx is a dynamic instant recovery solution. It can automatically take silent snapshots in the background. Each backup snapshot only takes a few seconds. When you want to restore your PC, you can quickly return to any previous state within the time required to restart the PC.
Most uninstallation software, including Windows' built-in add/remove programs, are fragmented solutions. When uninstalling an application, there may still be residual programs; As for what content to keep and what content to actually delete, you are indeed at the mercy of the software author. Only by rolling back Rx can your workstation be restored bit by bit to any previous snapshot. The problem with antivirus programs is that, by design, they are always catching up. Continuously attempting to identify and remove known threats and update their definition files. However, when the virus does strike, you can trust RollBack Rx to completely undo the infection and restore your PC to its pre virus state. RollBack Rx is widely used for securely testing software. Enable you to test the software without compromising system integrity.
Assuming you are dealing with an important document. Then, while checking your inbox, you encountered a catastrophic system crash and your PC became completely unusable. Unfortunately, the last snapshot was taken a week ago... RollBack Rx technology allows you to return to the system state from a week ago without losing any data in the current (crashed) system. How is this possible? The file recovery function helps access any file from a crashed system state, including important documents you are working on. For organizations that require zero day disaster recovery without downtime, this feature is absolutely necessary. RollBack Rx improves work efficiency, allowing IT administrators to restore PCs to a fully functional state within minutes without losing data.
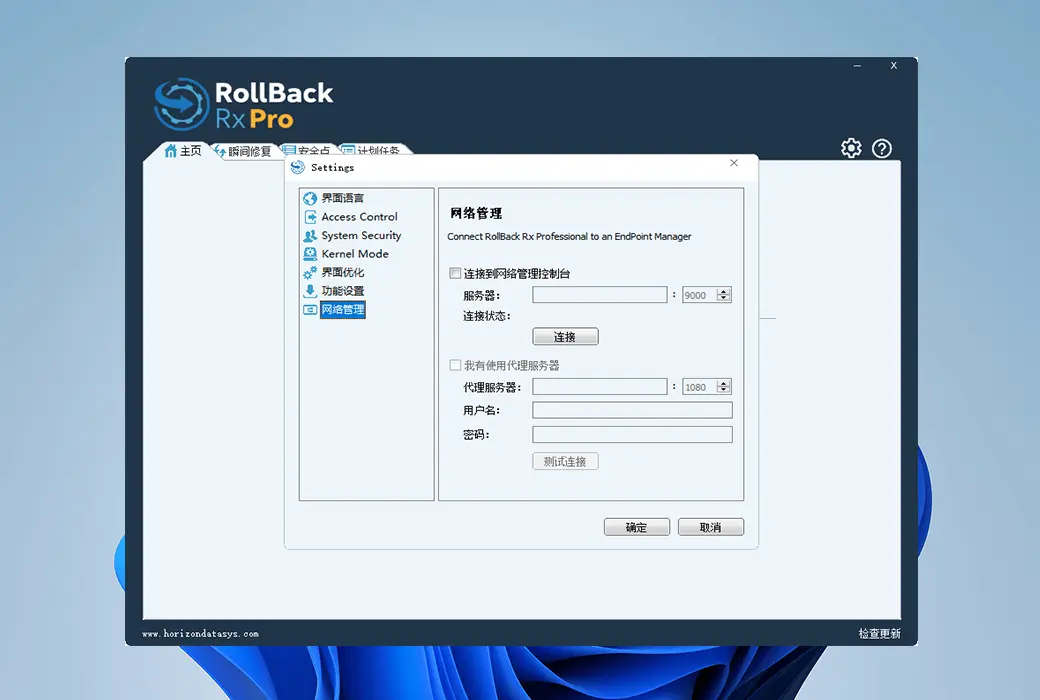
RollBack Rx simplifies enterprise level network management. Horizon DataSys provides a free network management console for all RollBack Rx clients. The Remote Management Console (RMC) enables IT administrators to remotely manage, configure, and control all RollBack Rx client installations, simplifying the tasks of network administrators. RMC remotely enables all client based features through LAN, WAN, and even the Internet. For more information about RMC, please click here.
Official website:https://horizondatasys.com/rollback-rx-time-machine/rollback-rx-professional/
Download Center:https://rollback-rx-pro.apsgo.cn
Backup Download:N/A
Delivery time:Manually processing orders
Operating platform:Windows
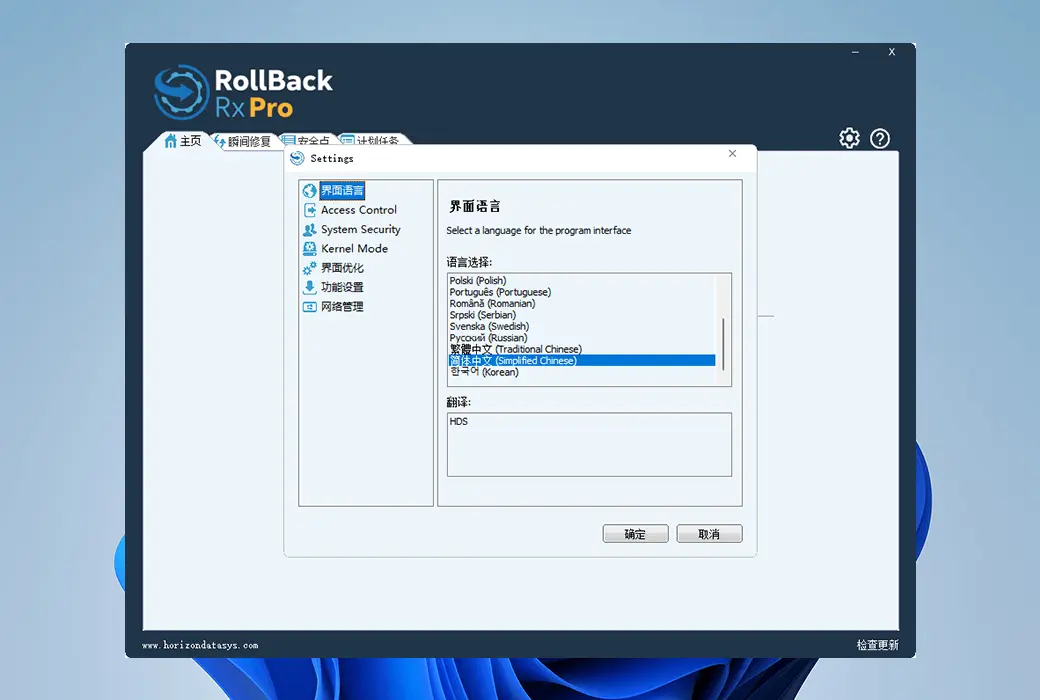
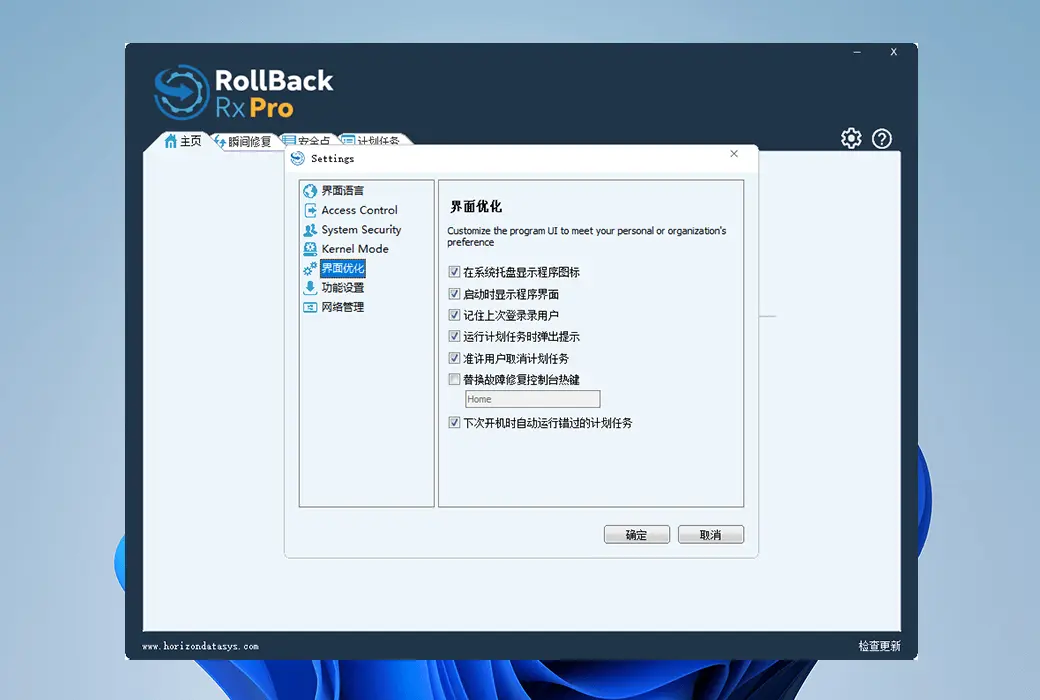
Interface language:Supports Chinese interface display, with multiple languages available.
Update instructions:During the maintenance period, all versions of updates and upgrades are supported, and after the maintenance period, only minor version updates (v12. x) are supported.
Pre purchase trial:Free trial for 14 days before purchase.
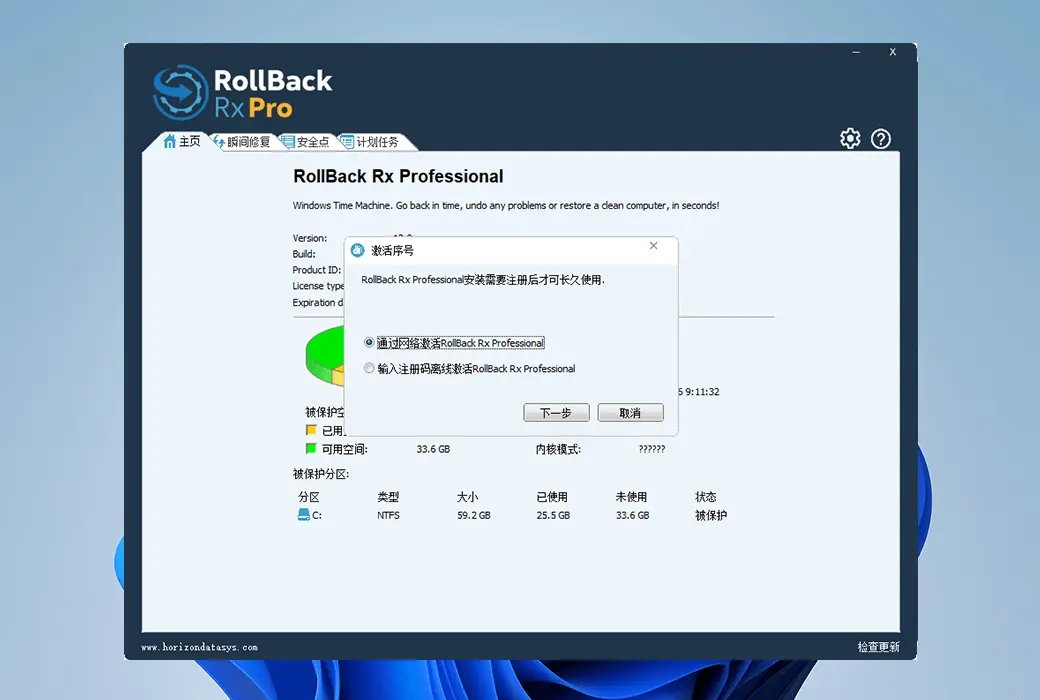
How to receive the goods:After purchase, the activation information will be sent to the email address at the time of placing the order, and the corresponding product activation code can be viewed in the personal center, My Orders.
Number of devices:Can install 1 computer.
Replacing the computer:Uninstall the original computer and activate the new computer.
Activation guidance:To be added.
Special instructions:To be added.
reference material:https://support.horizondatasys.com/Knowledgebase/Article/View/52/0/software-upgrade-policy

Any question

RollBack Rx Deployment Guide
Publisher: Jester Santos, Last modified by: [Name of modifier], January 22, 2014
RollBack Rx Professional Deployment White Paper (applicable to versions 10. x and above)
(Please refer to the attachment for version 9. x)
Five methods for deploying RollBack Rx Professional
RollBack Rx Professional is designed for enterprise needs. To meet the needs of customers of different scales, RollBack Rx Professional offers five deployment methods, ranging from single workstation setup to company wide deployment.
1. Single machine setupInstall RollBack Rx Professional on a single workstation using an installation CD or electronic download.
2. Network settingsInstall RollBack Rx Professional from a network shared folder, or distribute RollBack Rx Professional using a network software deployment tool.
3. Script settings or unattended settingsUse a client-side script to push RollBack Rx Professional, which automatically runs when the client computer logs into the network.
4. Deploy RollBack Rx Professional in the system imageInclude RollBack Rx Professional in the system image and release it together with the operating system deployment using drive imaging tools such as Symantec's Norton Ghost.
5. Create and deploy using MSIInstall RollBack Rx Professional using MSI executable files and pre configured settings.
---
Single machine setup
To install RollBack Rx Professional on a single workstation, follow the following typical setup steps:
1. Extract the installation package.
2. Go to the "Rollbackv1 (x)" folder and run setup.
3. Select "Typical" or "Custom" settings in the settings selection menu and follow the on-screen instructions.
---
Network settings
If you need to set up RollBack Rx Professional on multiple network computers, to avoid the hassle of carrying CDs to each computer for setup, RollBack Rx Professional allows you to run the settings from a network share. Please follow the following general guidelines to install RollBack Rx Professional over the network:
1. Copy all the decompressed RollBack Rx Professional files to a folder on the server and create a share for that folder.
2. Create a Setup INI file (SETUP. INI) using the SETUP INI Wizard tool provided in the "Deployment Tools" folder of the RollBack Rx Professional installation package. Set up The INI file is placed in the folder containing the RollBack Rx Professional program files created in step 1.
3. Open SETUP using Notepad INI file, scroll to [Advanced. Partition], delete all lines below it, and write "ProtectDrives=systemonly" to make SETUP The INI file only protects the C: drive, or enter 'ProtectDrives=all' to overwrite all drives. This is important because when an INI file is created, it reads the drive it was created on, including specific information related to that drive. By editing these lines, you can ensure successful deployment on other drives.
To install RollBack Rx Professional on a workstation, access the shared folder from the workstation and run Setup. exe.
5. Select the "Unmanned Settings" option in the settings selection menu. The unmanned setting will be configured from SETUP in step 2 Read setting parameters (such as product ID, password, protection type, program settings, and installation directory) from the INI file. When the setting is completed, the user will be prompted to restart the computer.
If you use network software deployment tools such as Microsoft SMS Server, Novell ZENworks, etc. to deploy our software, please follow the following guidelines:
1. Use software to deploy applications and create a 'previous' snapshot of the system.
2. Create a folder named Setup in the root directory of drive C, and copy all RollBack Rx Professional program files to this folder.
3. Create a SETUP according to step 2 INI file.
4. Place SetAutoSetup.exe (which can be found in the "Deployment Tools" folder of the installation package) in the Setup folder and double-click to run it. SetAutoSetup.exe writes some deployment settings into the system registry.
5. Run the software deployment application again to create a "later" snapshot and create the software deployment package.
6. Deploy the software package and restart the client system.
---
Set up using scripts (unmanned setting)
For some network administrators, they prefer to use client-side scripts to deploy new applications to workstations, and RollBack Rx Professional can also be easily integrated into their custom script installation scenarios. Please follow the general guidelines below to deploy RollBack Rx Professional in the network script:
1. Copy the RollBack Rx Professional file from the installation package to a folder on the server and create a network share for that folder.
2. Create a Setup INI file (SETUP. INI) using the SETUP INI Wizard tool provided in the "Deployment Tools" folder of the RollBack Rx Professional installation package. Set up The INI file is placed in the folder containing the RollBack Rx Professional program files created in step 1.
To install RollBack Rx Professional during client login using a client-side script, please include 'setup. exe/s' in the setup script. Setup/s allows the RollBack Rx Professional installation wizard to configure SETUP from step 2 Silently read setting parameters in INI file.
4. Open SETUP using Notepad INI file, scroll to [Advanced. Partition], delete all lines below it, and write "ProtectDrives=systemonly" to make SETUP The INI file only protects the C: drive, or enter 'ProtectDrives=all' to overwrite all drives. This is important because when an INI file is created, it reads the drive it was created on, including specific information related to that drive. By editing these lines, you can ensure successful deployment on other drives.
5. Please test the installation file and run it with SETUP Install the INI file to ensure it works as expected.
No user intervention is required during the silent setting process. The setting will automatically restart the computer at the end. If you do not want the computer to automatically restart at the end of setup, please add '/norestart' to the 'setup. exe/s' command.
---
Deploy RollBack Rx Professional in the system image
RollBack Rx Professional can also be included in system images and released together with operating system deployment, such as images created using Norton Ghost or similar tools. However, due to the security design of RollBack Rx Professional, some functions of the program do not exist in visible file formats, but rather exist in the form of bits and bytes on physical sectors of the hard drive. Therefore, the typical Ghost method (mapping all files on the hard drive to create a system image) will not be able to include all RollBack Rx Professional components. Please prepare a hard drive containing RollBack Rx Professional for imaging according to the following guidelines:
1. Copy the RollBack Rx Professional program files from the installation package to a folder on the hard drive that you will use to create the system image (primary image), and rename the folder to Setup.
2. Use the SETUP INI Wizard tool provided in the "Deployment Tools" folder of the installation package to create an advanced settings configuration file (SETUP. INI). Set up The INI file is placed in the Setup folder created in step 1.
3. Open SETUP using Notepad INI file, scroll to [Advanced. Partition], delete all lines below it, and write "ProtectDrives=systemonly" to make SETUP The INI file only protects the C: drive, or enter 'ProtectDrives=all' to overwrite all drives. This is important because when an INI file is created, it reads the drive it was created on, including specific information related to that drive. By editing these lines, you can ensure successful deployment on other drives.
4. Place the SetAutoSetup.exe tool (which can be found in the "Deployment Tools" folder of the installation package) in the Setup folder and double-click to run it. SetAutoSetup.exe writes some deployment settings into the system registry.
5. The hard drive is now ready for imaging. Use a Windows based imaging application to image the drive, or restart the computer to a CD to create a hard disk image containing RollBack Rx Professional settings files. After running SetAutoSetup.exe,Do not restart to WindowsBecause SetAutoSetup.exe created some registry entries to automatically start the RollBack Rx Professional deployment process, restarting to Windows will trigger the RollBack Rx Professional automatic setup process.
The primary image contains the RollBack Rx Professional deployment package, not the installed RollBack Rx Professional program. Once the primary image is copied to the hard drive, the registry key generated by SetAutoSetup.exe will trigger the RollBack Rx Professional deployment process upon initial startup. This process is silent and transparent to the user. Set SETUP from the previous configuration Read program parameters from INI files without user interaction. At the end of the setup, SetAutoSetup.exe will automatically delete the RollBack Rx Professional setup file and restart the system.
---
MSI deployment
If the best option for you and/or your organization is to create and deploy using MSI files, please click on the following link for complete instructions.
You need to download the MSI creation tool MyApply through the following link:
Please follow the complete instructions in the following link to create and deploy MSI packages:
be careful:Please make sure to follow the system image SETUP in this guide INI file creation instructions for using INI files in MSI packages.
🔗 Source text from:https://support.horizondatasys.com/Knowledgebase/Article/View/97